
The Honourable Lord Jochen Schwalbe, Lochac Company of Archers
June 2017
There are many different designs for quivers that are suitable for use on the warfield. This particular design is one that I have used for a number of years. It is simple, inexpensive, durable and effective. It also travels easily, going into my suitcase when I’m travelling to events by plane. If you have everything you need to make it on hand you should be able to complete it in an industrious evening.
This quiver is intended to slide onto a kidney belt. Having it there keeps it close to your centre of mass and stops it been upended when running or similar.
The base of the quiver is bigger than the neck. This is deliberate as blunts need more room than fletching. The depth of the quiver is such that your fletching will sit proud of the neck of the quiver to make it easier to use in combat. You should be able to fit at least 2 dozen Lochac-style combat arrows.
Please note that there are any number of substitutions or modifications that you may wish to use. I would encourage it, after all, it will be your quiver.
Step 1
Cut the leg off a pair of (old) jeans just below the groin.
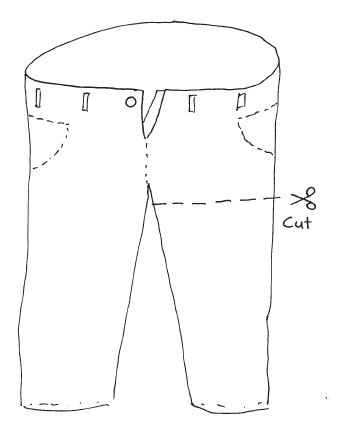
Cut the leg off a pair off old jeans just below the groin
Step 2
Cut a suitable piece of material for the base. You could use a different piece of material. I typically use the other leg of the jeans (Note: now you have a pair of denim shorts that will need hemming). I use a circular base, however you can customise it to suit your personal taste. The base is to be sewn to the “top” of the jeans, so the bottom of the quiver will be bigger than the top. Do this with the material turned inside out so the seam is neatly hidden.
Step 3
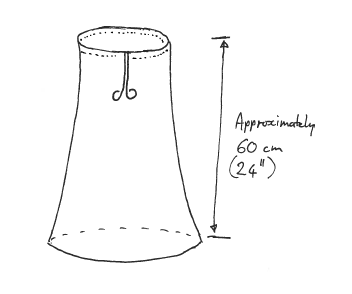
Cut the quiver to length. ideally you want it to be approximately 60cm (24″) long when finished. So allow adequate seam allowance for the top
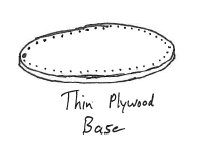
Thin plywood base with holes drilled for reinforcing the base of the quiver
Step 4
Cut a base of thin plywood or other suitable stiff material (Thick leather would be fine). Drill small holes around the circumference of the base, approximately 1 cm (1/2”) apart. the base should then be sewn onto the inside of the bottom of the quiver. Again, easiest done with it turned inside out. Use strong thread (or better still, thin cordage).
Step 5
Form a loop at the top. Steel bar 4-6mm (1/6 “- 1/4”) in diameter is suitable. It should be bent such that it starts as a “Leg” then bends 90 degrees, forms the loop for the neck of the quiver (to the size of your jeans), then is bent at 90 degrees for your second “Leg”. the legs should be as long as your kidney belt is deep (for me approximately 25cm or 10”). I put a loop in the ends of the legs for comfort. I typically weld the legs together, but if you don’t have the resources to do this then they can be secured together using any number of alternatives.
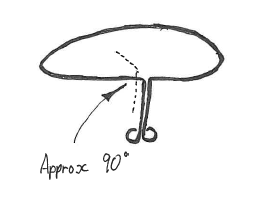
Bend metal rod into shape
Step 6
Sew the loop into the neck of the quiver. This can be done by hand, or by machine (could be challenging though) Before you sew do a check to make sure that your arrows sit comfortably at a length that works for you.
Check the height compared to your arrows to get a length that works for you.
Step 7
Customise it! Sew on your device or add some sort of adornment. Just because it’s an old pair of pants there’s no reason as to why it shouldn’t look good.
Enjoy your handiwork. Shoot accurately, shoot fast, and never stop moving.
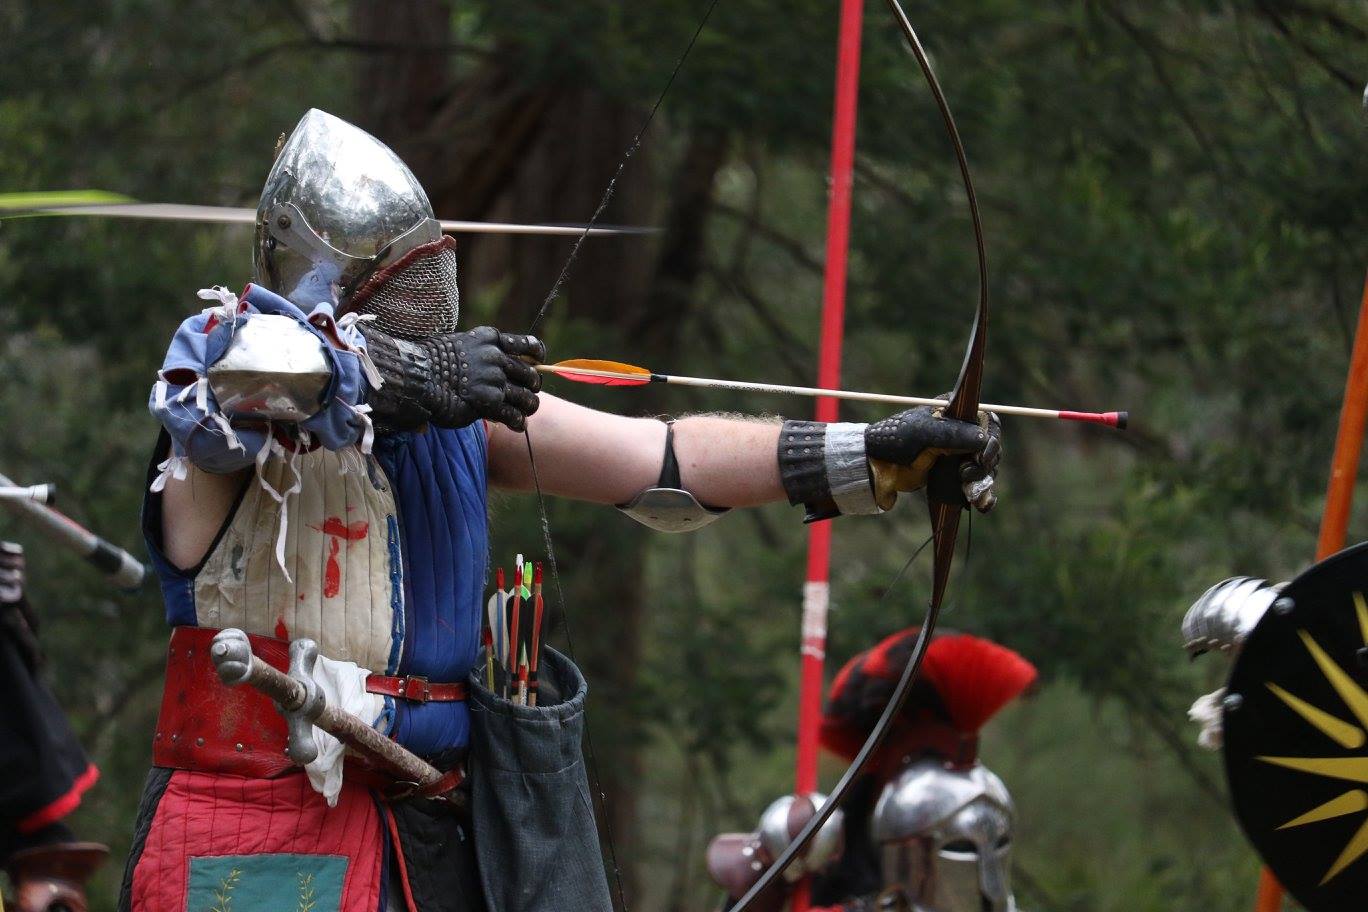
The Honourable Lord Jochen Schwalbe. Photo by Archer Witkowski
– Jochen